Let’s build an analog chronograph watch with VanillaJS + HTML pt.1
Tung V

In this project, we’ll be recreating a functional chronograph analog watch using just Vanilla JavaScript and HTML, with a bit of CSS for styling.

It’s been a long time since I haven’t worked with any pure HTML and Vanilla JS. I decided to choose the chronograph watch as the project since I love my watch so much! This project enables us to explore fundamental web development concepts, such as DOM manipulation, event handling, and animations.

This is my lovely mechanical watch.

The project

  • Create a mechanical watch dial.

  • Has 12-hour marks.

  • The main second hand is the chronograph second, while the hour and minute hands show real-time.

  • The sub-dial is on at the 9-hour position for the real second-hand.

  • The sub-dial is at the 3-hour position for the elapsed minute hand.

  • Movement of 4hz — the second hand moves four times in one second to emulate the weeping hand.

  • Start, stop and reset functionalities.

Multiple trips to the mountain

To deliver the project, we can break it down into multiple phases

  1. Draw the basic analog dial. ← This pt1 is about

  2. Add a sub-second dial. ← the next part is here https://medium.com/@whoz_/lets-build-an-analog-chronograph-watch-with-vanillajs-html-pt-1-4db16d182983

  3. Add chronograph function.

The Basic Analog Dial

First, we need to create 3 files: index.html , app.js and style.css

The main HTML file

It’s just a simple layout with a dial and the 3 hands. For the 12-hour marks, we can put the 12 div here, but I would prefer to add it in the JS file to follow the DRY.

1
2
3
4
5
6
7
8
9
10
11
12
13
14
15
16
17
18
19
<!DOCTYPE html>
<html lang="en">
<head>
<meta charset="UTF-8" />
<meta name="viewport" />
<title>Analog Chronograph Watch</title>
<link rel="stylesheet" href="style.css" />
</head>
<body>
<div class="watch">
<div class="dial">
<div class="hand hour-hand"></div>
<div class="hand minute-hand"></div>
<div class="hand main-second-hand"></div>
</div>
</div>
<script src="app.js"></script>
</body>
</html>

The CSS file

From the HTML file, we can see that we have the hand class as shared so we don’t have to duplicate props. The key here is we want to have the transform-origin: bottom , which acts like an anchor when we transform the hand position.

1
2
3
4
5
6
7
8
9
10
11
12
13
14
15
16
17
18
19
20
21
22
23
24
25
26
27
28
29
30
31
32
33
34
35
36
37
38
39
40
41
42
43
44
45
46
47
48
*,
*::before,
*::after {
box-sizing: border-box;
}

body {
font-family: Arial, sans-serif;
display: flex;
justify-content: center;
align-items: center;
height: 100vh;
background-color: #f0f0f0;
}

.dial {
position: relative;
width: 300px;
height: 300px;
border: 10px solid #ccc;
border-radius: 50%;
background-color: white;
}

.hand {
position: absolute;
bottom: 50%;
left: 50%;
height: 50%;
background-color: black;
transform-origin: bottom;
}

.hour-hand {
width: 4px;
height: 25%;
}

.minute-hand {
width: 3px;
height: 40%;
}

.main-second-hand {
width: 2px;
height: 45%;
background-color: red;
}

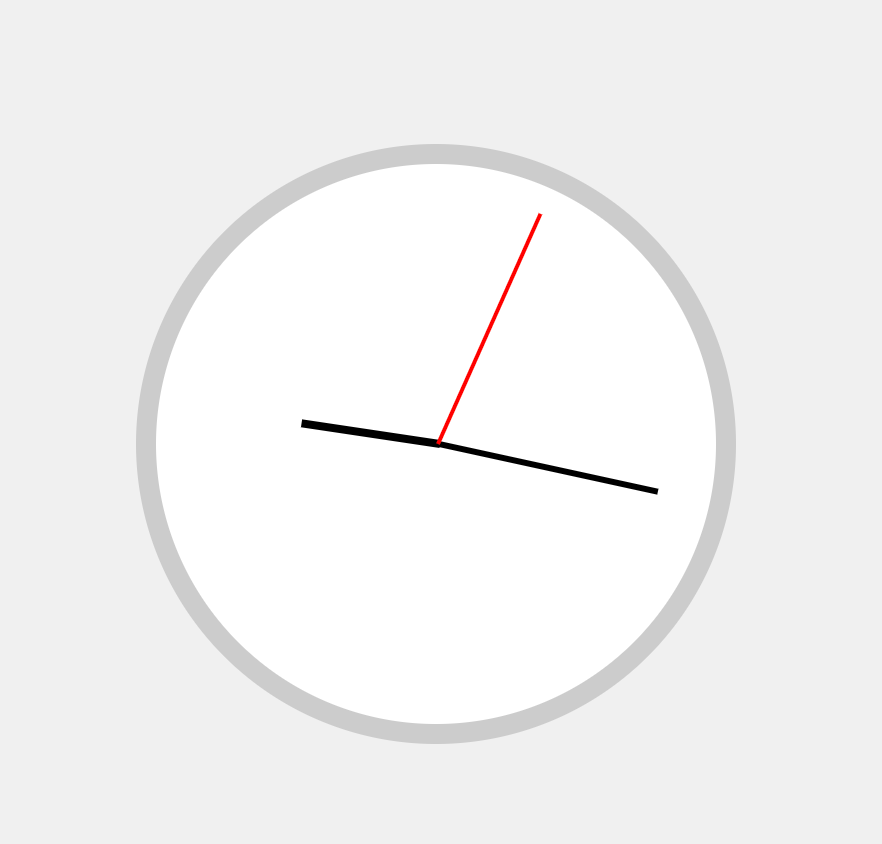
We start to get the shape of the watch!

The JS file

Since we have the basic UI, let’s make the watch work.

Now, we need to map the real-time to the HTML elements.

1
2
3
const hourHand = document.querySelector('.hour-hand');
const minuteHand = document.querySelector('.minute-hand');
const mainSecondHand = document.querySelector('.main-second-hand');

Starting from the heart, we need it to run 4 beats per second, aka 28880 bph, which is the standard in the mechanical watch world. The more high-end watch engine will have more beats for a second so the second-hand can move as smoothly as possible.

The takeaway here is we need to transform the hand rotate(${someDegree}deg) and combine with the anchor bottom from above we can have the basic hand movement.

1
2
3
4
5
6
7
8
9
10
11
12
13
14
15
16
17
18
19
20
21
22
23
let realTimeInterval;

// Start the real-time second hand
function startRealTimeSecondHand() {
const realTime = new Date();
const ms = realTime.getMilliseconds();
// round the
const roundedSecondResult = Math.round((ms / 1000) * 4) / 4;

const seconds = realTime.getSeconds();
const realSecondDegrees = ((seconds + roundedSecondResult) / 60) * 360;
mainSecondHand.style.transform = `rotate(${realSecondDegrees}deg)`;
const minutes = realTime.getMinutes();
const minuteDegrees = ((minutes + seconds / 60) / 60) * 360;
minuteHand.style.transform = `rotate(${minuteDegrees}deg)`;
const hours = realTime.getHours();
const hourDegrees = ((hours + minutes / 60) / 12) * 360;
hourHand.style.transform = `rotate(${hourDegrees}deg)`;
}

realTimeInterval = setInterval(() => {
startRealTimeSecondHand();
}, 250);

And voila, we got the watch working!

Now let’s add the 12 mark by JS instead of the 12 repeated div. We can write a simple function to append divinto the dial.

1
2
3
4
5
6
7
8
9
10
11
12
13
14
15
16
17
18
const dial = document.querySelector('.dial');
function createHourMarks() {
for (let i = 0; i < 12; i++) {
const hourMark = document.createElement('div');
hourMark.classList.add('hour-mark');

// Calculate the angle for each hour mark
const angle = i * 30;

// We need to translate twice
// the first one is to centered the mark, then the second one is to position the mark.
hourMark.style.transform = `translate(-50%, -50%) rotate(${angle}deg) translate(0, -132.5px)`;

dial.appendChild(hourMark);
}
}

createHourMarks();

And add the CSS

1
2
3
4
5
6
7
8
9
.hour-mark {
position: absolute;
width: 4px;
height: 15px;
background: #333;
top: 50%;
left: 50%;
transform-origin: 50% 50%;
}

Better!

Wrap up part 1

So far, we have implemented the basic analog watch with pure JS, HTML and CSS.

In the next part, we’re going to implement the chronograph function and make it look like my pilot watch.

Stay tuned for more!